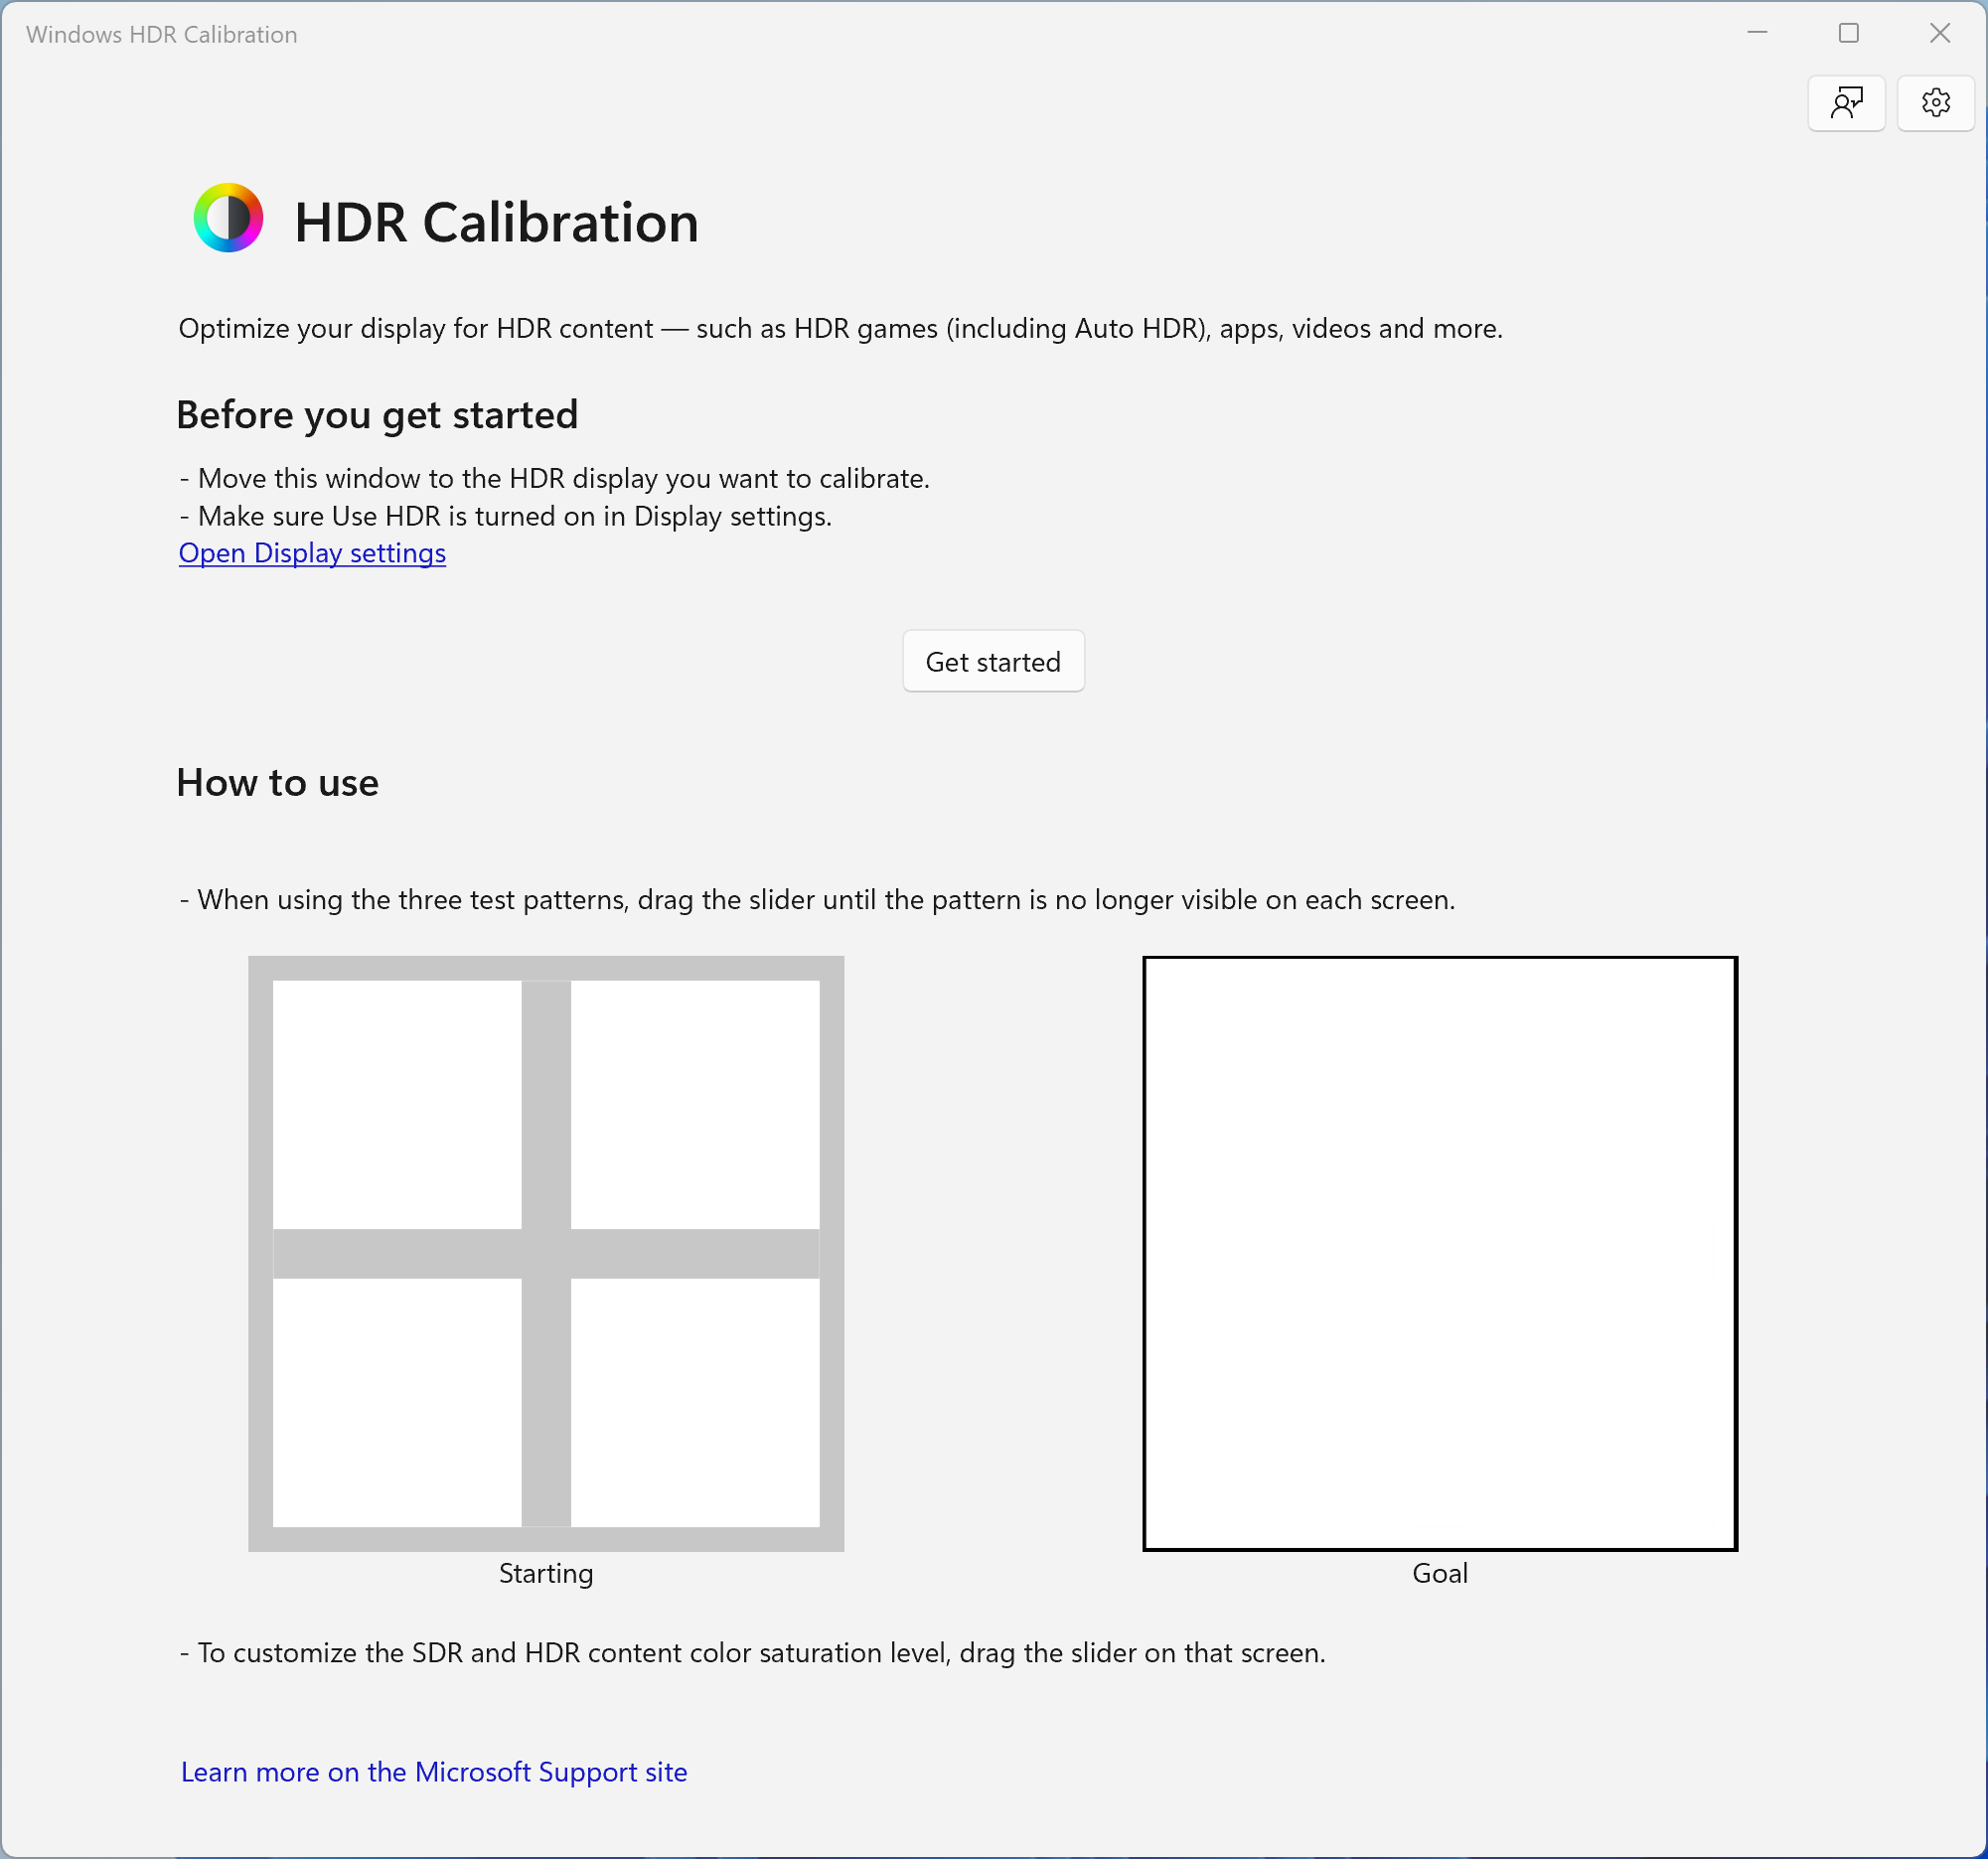
Windows HDR Calibration

Windows HDR Calibration: Optimizing Your Visual Experience
Understanding HDR
High Dynamic Range (HDR) is a technology that improves the color and brightness range of images and video to deliver a more detailed and realistic visual experience. Windows 10 and later versions support HDR display, provided your PC hardware is HDR compatible. To obtain the full benefits of HDR, a proper calibration is crucial - this is where Windows HDR calibration comes into play.
The Essence of HDR Calibration
HDR calibration is a process of adjusting your HDR display settings to achieve optimal visual output. Uncalibrated or improperly calibrated HDR displays may exhibit washed out colors, too dark or too bright areas, and lack of detail - negatively impacting your visual experience.
Getting Ready for HDR Calibration in Windows
Before starting the HDR calibration process in Windows, ensure your PC hardware meets the minimum requirements. Your PC needs to have a display or an external monitor that supports HDR10, and a graphics card that supports PlayReady 3.0 hardware digital rights management (for protected HDR content).
Turning On HDR in Windows
To turn on the HDR settings on a Windows computer, navigate to Settings > System > Display. If you have an external display, ensure it's selected in the Rearrange your displays section. Now, under Windows HD Color, turn on the 'Play HDR games and apps' option. Also, turn on the 'Stream HDR video' option, if available.
The Windows HDR Calibration Process
Once you’ve ensured HDR is enabled, it’s time to calibrate. Windows has a built-in HDR calibration tool that helps in adjusting the settings for optimum output. You can access this tool via Settings > System > Display > Windows HD Color settings > HDR/WCG color balance.
Here, you'll see two variables you can adjust: Brightness and Color Balance. Remember, the goal is not necessarily to make the image look brighter but to find a setting where you can distinguish all levels of light and color in the displayed image most clearly.
Finding Your Ideal Settings
While calibrating, you'll be shown a series of images that will help you determine the ideal settings. You should be able to see the darkest parts of the image, which should not be absolute black, and the brightest parts, which should not be completely washed out. The gamut of all visible colors should also be clearly exhibited.
The color balance setting ensures that the color gamut, which is expanded in HDR mode, is well balanced. Poor color balance can lead to overly saturated or dull colors, detracting from the overall image quality.
Maintain Regular Calibration Checks
The calibration isn't a one-time process. Your HDR settings can sometimes be affected by graphics driver updates, display firmware updates, or even changes in your room's ambient light. It's good practice to check your HDR calibration occasionally to ensure you're still getting the best image quality.
Conclusion
With an increasing amount of content being made available in HDR, having a properly calibrated HDR display can significantly enhance your viewing experience. By following the steps covered herein for Windows HDR calibration, you can optimize your monitor’s settings, ensuring vibrant colors and clear image details - a feast for your eyes.
Remember, a well-calibrated HDR system is about balance. The final image should represent a delicate interplay of lights, darks, and all the colors in between, leading to a pristine and realistic interpretation of the visual world around us. Happy calibrating!


 The best app store 1